Being Canadian, I got to celebrate Thanksgiving this past weekend. Thanksgiving, in my family, is an occasion to feast with the people who mean the most to you, enjoy great food and, consequently, slip into a turkey induced nap while still comfortably in the presence of those same people. We lack formality in other words.
This was my second year tackling the turkey on my own and it may be my bias taste buds taking creative liberty in saying this, but I nailed it. Last year, it was ok, but I definitely aspired to upping my turkey game on the next round. I’m loose and carefree when it comes to cooking, and recipes/directions have always been more guidelines than rules to me. So, with some swinging by the seam of my pants on this, I winged the prep and cooking of this 6.8kg bird, and was pleasantly surprised.
(Side note: I’m actually pathetically, embarrassingly, stupidly scared of these gobbling birds when they’re alive. We’ll touch back on this at some point in the future, I’m sure.)
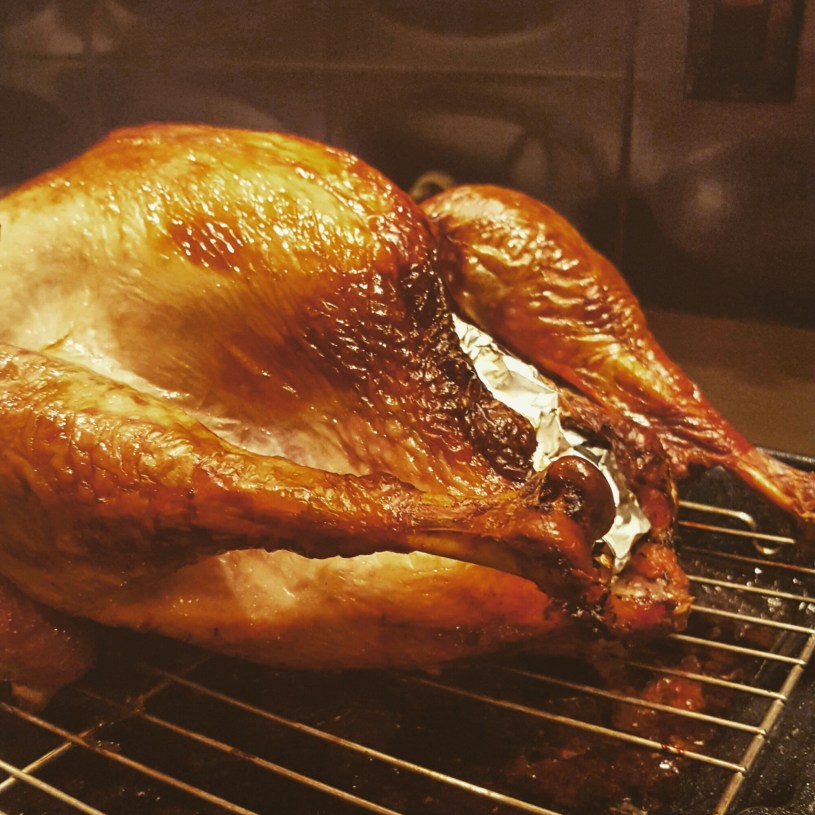
Without further adieu, here is my turkey!

- 8 cups of boiled water
- 2 1/2 cups salt (I used kosher) + a pinch
- 3/4 cup honey
- 1/4 cup molasses
- 1 tablespoon sage
- 1 tablespoon thyme
- cloves (un peeled) from 1 head of garlic
- lots of ice
- tap water (amount to be determined)
- 1 lemon
- 1 stick of unsalted butter
- 1 fresh or frozen turkey
- olive oil
- 1 apple (cut into quarters)
- 1 onion (cut into quarters)
- carrots (cut into 2 inch pieces)
If you’ve bought a frozen turkey, then first things first: thaw that beast! This is a process that can take days, depending on the size of your turkey. At a thaw rate of 5 pounds per day with your iced bird in the fridge, you’ll need to do some math to see how long you should start your thawing before it’s brine time. I began my brine the day before I wanted to cook my bird. You should give the brine at least 12 hours alone with the turkey to ensure a deep absorption of tastes. In a large enough pot for your bird to stand up in, dump your 2 cups of salt and pour the boiled water over it. Stir, letting the salt dissolve into the water before adding your honey, molasses, sage, thyme and garlic. Stir to combine. Everything is still going to be quite warm in your pot, so it’s time to add ice before we can put the turkey into the brine bath. I added at least three hand fulls of ice to my concoction, but feel free to add more. Then I freed my turkey from its plastic and mesh wrapping over the sink to avoid any of that scary poultry juice getting on my counters or anything. Remove the neck and giblets from the turkey and rinse the bird, inside and out under tap water. Now you can place it into the pot with the brine and fill the remainder of the pot with tap water to fully submerge the turkey. If you’re lucky enough to have space in your fridge to fit the pot, slide it in there. Otherwise find a cool place to let it sit for the next 12 hours or so. (My mom’s trick was to seal the pot tightly and leave it outside in the cool autumn weather for the night). At some point, flip the turkey in its brine pot to encourage an equal soaking all over the bird.
Time lapse:
12-14 hours later – Preheat your oven to 400 degrees. Remove the turkey from the brine and pace on a wire rack above a deep enough pan to catch all the turkey drippings while it’s cooking, Using paper towels, dab at the bird, drying the outside as well as the inside cavity. Melt your butter and mix the juice of your lemon with it. Gently lift the skin of your turkey and rub the buttery mixture under the skin and onto the meat of the bird and spread the remainder of the mix over the body of the bird as well as inside the cavity. Stuff the cavity with the apple, onion and carrots, placing a piece of foil over the opening after to seal it. Now place your bird, uncovered into the oven for the next hour, turning the temperature down to 370 after twenty minutes. This will encourage that nice golden brown everyone wants to see on their turkey. An hour and a half into cooking your bird, take it out and drape foil over the bird, tenting it to help keep it from getting dry during the rest of its time in the oven. Cooking time will vary depending on the size of your bird. Normally on the package of your turkey, there will be a reference chart for you to use as a guide. Mine took almost 5 hours to cook through all the way. About half way through the cooking time, take the bird out again and pour just a tablespoon or 2 over the girl and tent it back up before putting it back in the oven to complete its cooking. Using a meat thermometer, you can determine if your turkey is done. The meat in the thickest part of the breast should have and internal temperature of 170-180 and the inner cavity needs to be above 165 before you can safely know your turkey is done. Once out of the oven, allow it to sit for at least 20 minutes to let all the juices make their way through the bird, collecting in the roasting pan. Carve it up, and enjoy!!
